Evolution3 BenchTop Installation Manual – Installation
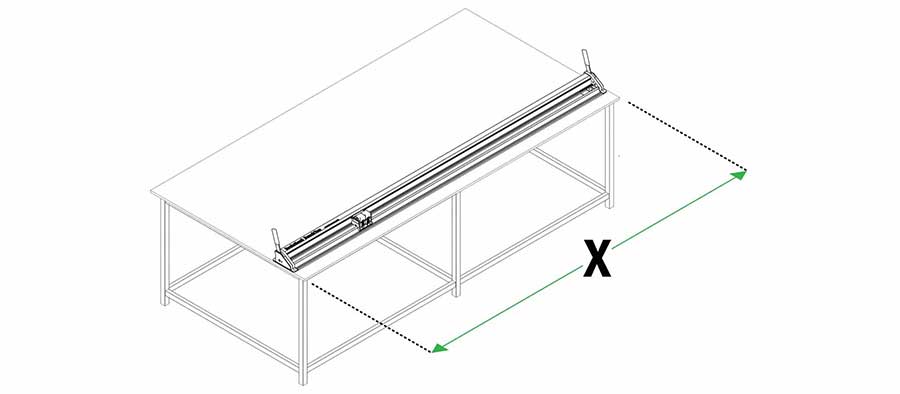
The width of the work surface needs to be 40cm (15 ¾″) wider than the cut length of the BenchTop.
Example: E3BT260 (104″) + 40cm (15 ¾″) = 300cm (118″) work bench.
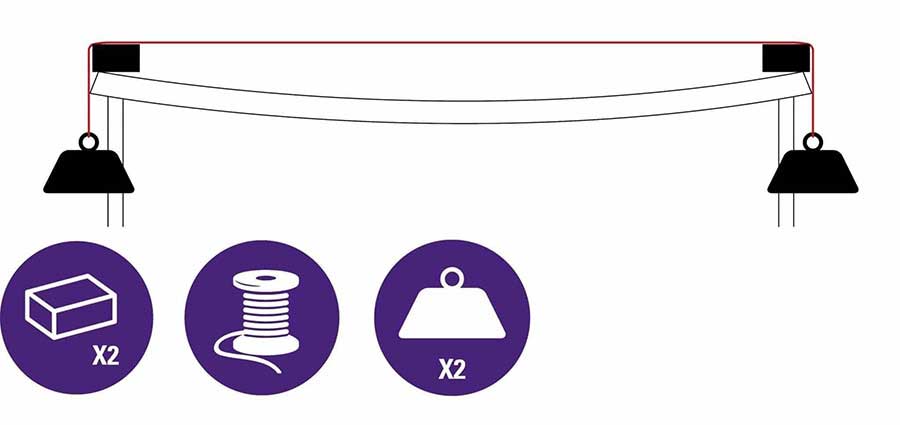
Check the flatness of the worktop by stretching a thin piece of strong thread between two blocks of the same height approximately over the area the cutter is to be mounted.
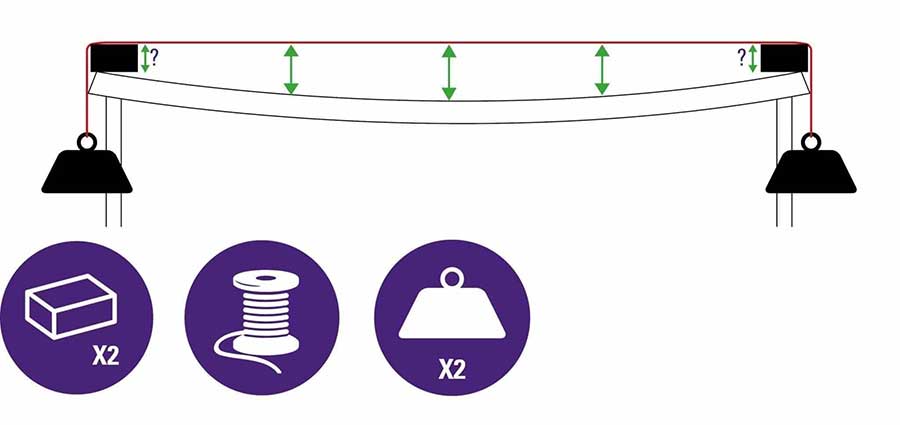
Measure the highest and lowest part of the worktop under the thread, the difference between the two measurements should be no more than 3mm (⅛″). If it is greater it will be necessary to adjust the surface flatness with a new top or by using spacing pieces under the base plate.
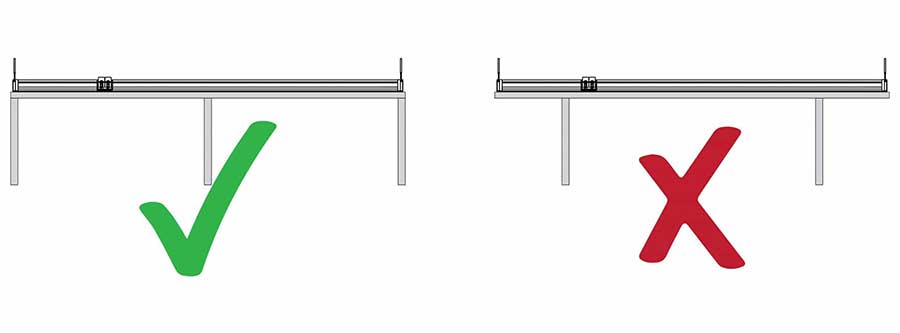
The work surface must be stable with a robust framework below and good support (no flexing) in the area under the two ends of the cutter.
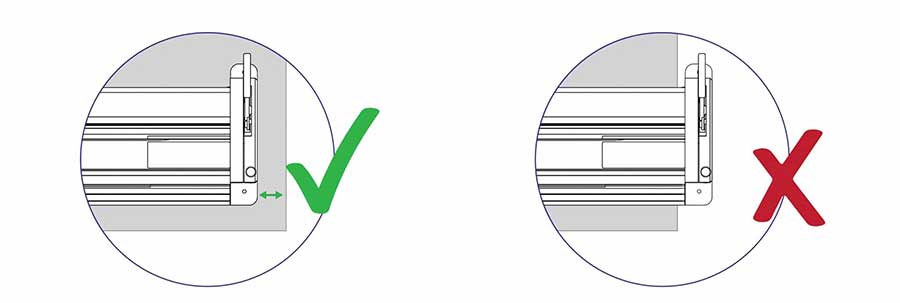
Both ends of the cutter must be fully supported and not overhanging the work surface.
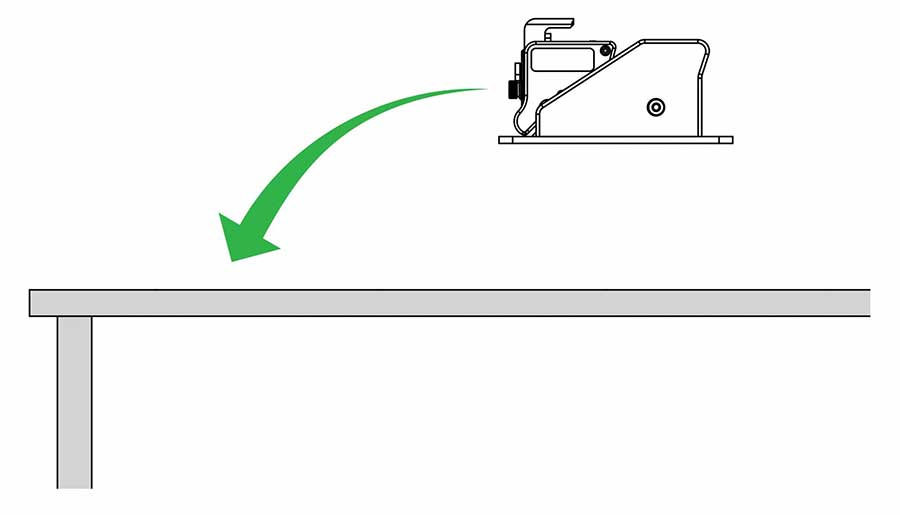
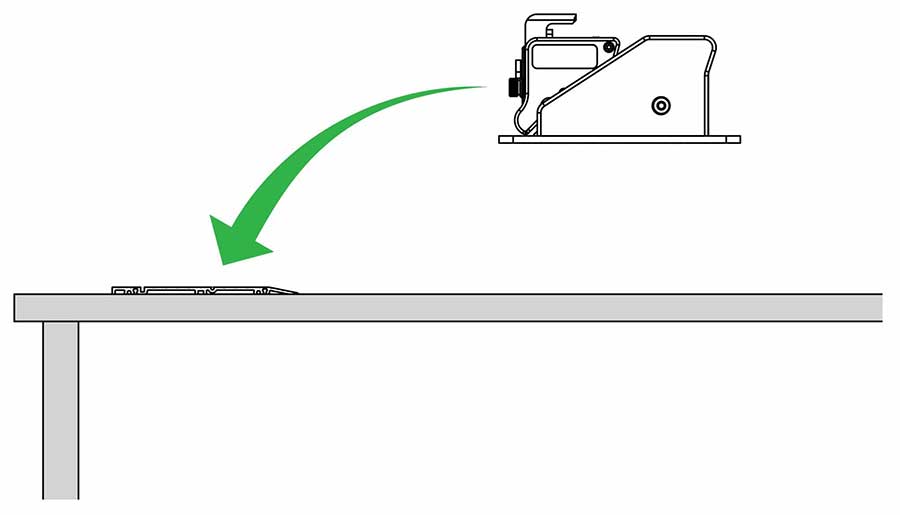
Lift the BenchTop into position.
| Be careful when lifting |
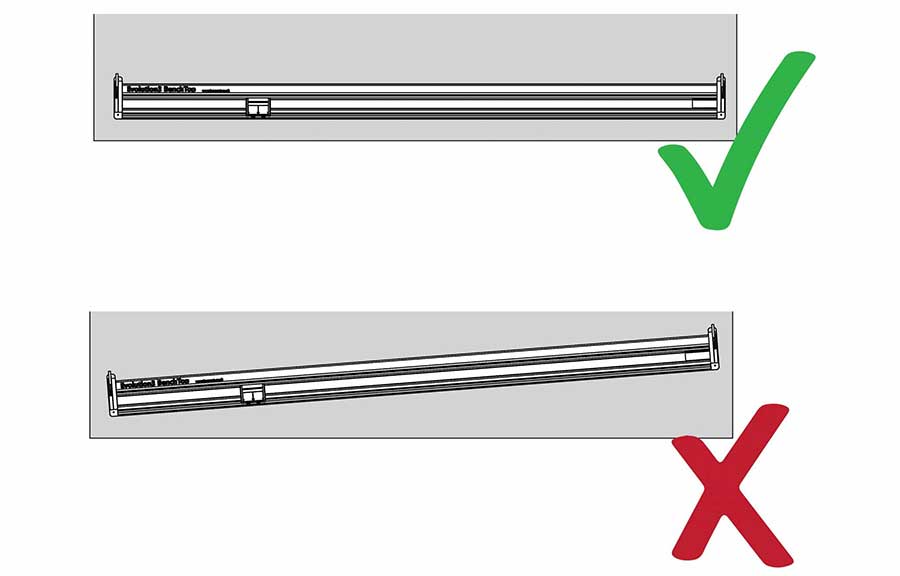
Ensure that the BenchTop is parallel with the edge of the work surface.
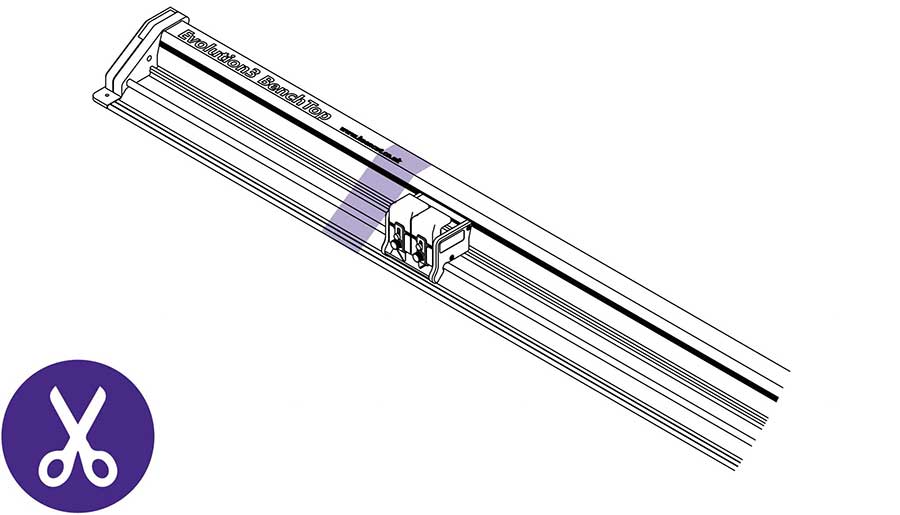
When located, use scissors to remove the film packaging.
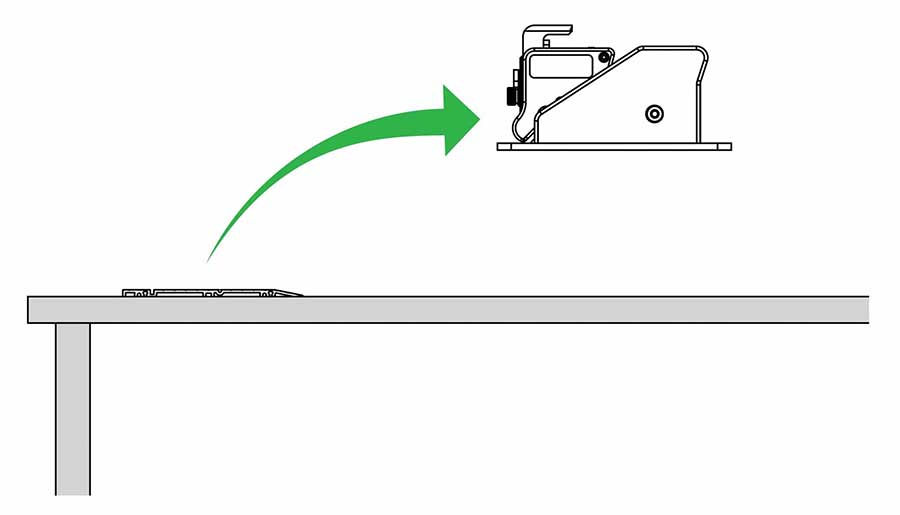
Mark the position of the base plate on the worksurface using a pencil, lift up the top of the BenchTop to separate the cutter bar from the base plate, and place it to one side.
| Be careful when lifting |
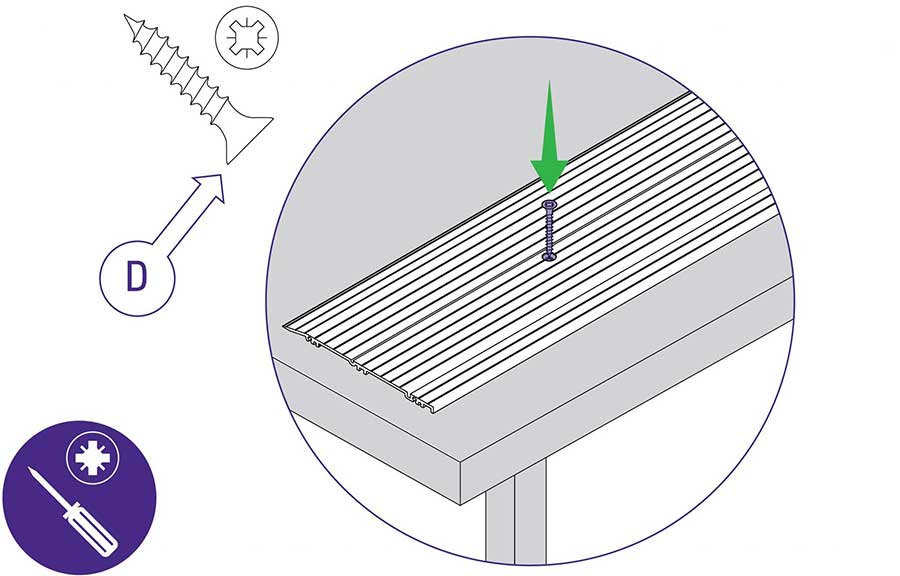
Use a posi-head screwdriver with screws (part D) to fix the base plate in position.
Using 2 people, lift the cutter bar back into position over the base plate.
| Be careful when lifting |
Check the flatness of the worktop by stretching a thin piece of strong thread between two blocks of the same height approximately over the area the cutter is to be mounted.
Measure the highest and lowest part of the worktop under the thread, the difference between the two measurements should be no more than 3mm (⅛″). If it is greater it will be necessary to adjust the surface flatness with a new top or by using spacing pieces under the base plate.
The work surface must be stable with a robust framework below and good support (no flexing) in the area under the two ends of the cutter.

