
Fitting instructions for the SteelTrak left hand squaring arm extension
Before you start
Before starting any work check the machine is firmly fixed to the wall or freestanding leg and that you have the following equipment:
- 5mm Allen key (hex key)
- Straight edge
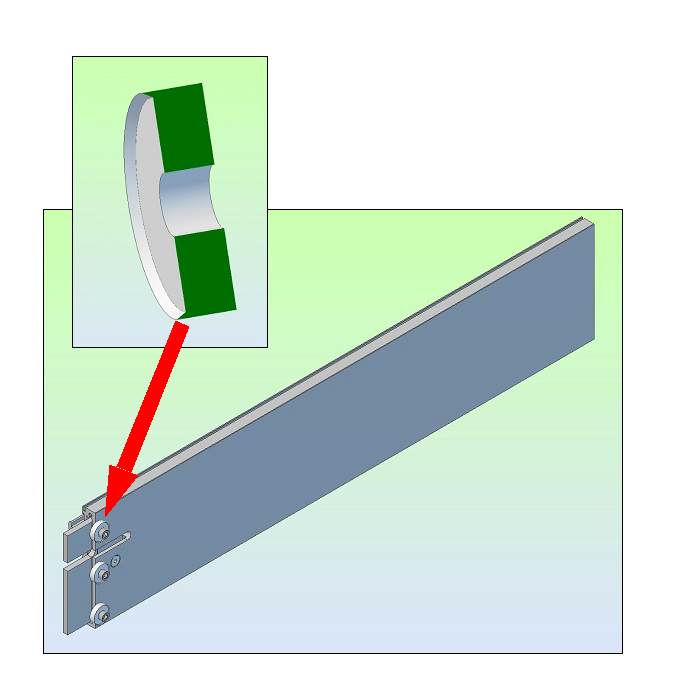
1. Clamping washer warning
The three clamping washers on the back of the extension have one flat face and the other face with a sharp edge. The washers are assembled on the squaring arm extension, so the sharp edges face out. Be careful, the edges of the washers are very sharp.
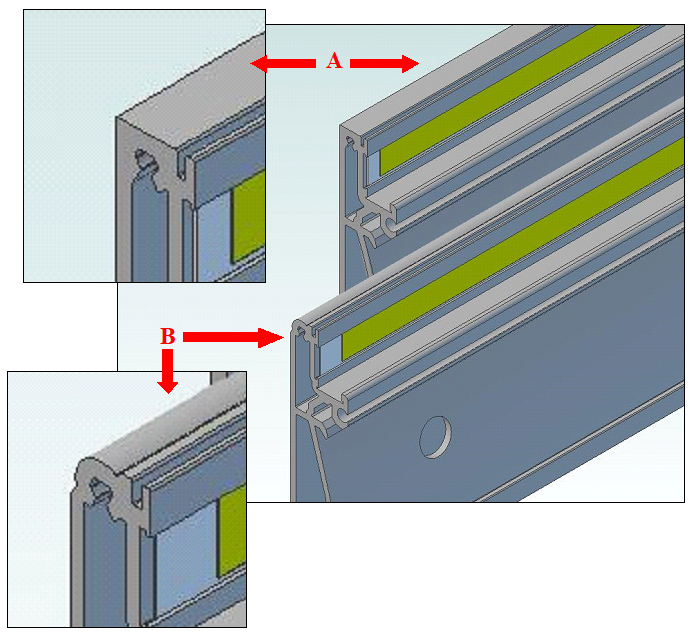
2. Which joining plate to use
There are two variations of SteelTrak squaring arm extrusion. The old style, original shape (A) has a square top edge and the current, newer shape (B) has a curved top edge. The steel joining plate must match the type of squaring arm extrusion and may need changing. It can be removed by taking out the Allen (hex) screw from the back of the extension. For the original square top edge shape, use joining plate 1 and for the newer, curved top edge, current shape, use joining plate 2.
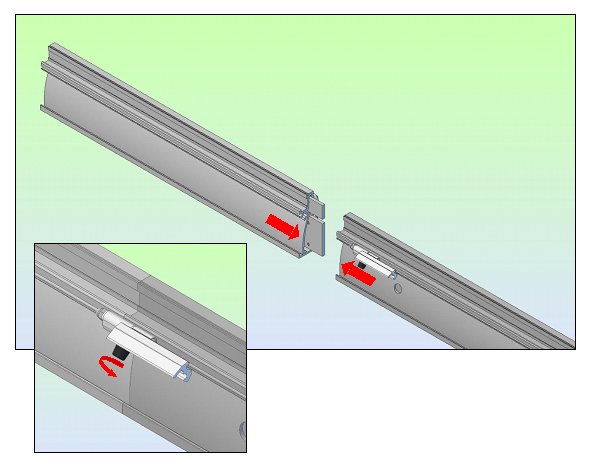
3. Attach extension arm
Loosen the three clamping screws and slide the extension onto the squaring arm. Hold them firmly together and slide the measuring stop mid-way across the joint and fasten it in place. Still supporting the extension, tighten the three clamping screws.
Using a straight edge in the material channel of the squaring arm, check that the extension is perfectly inline. Minor adjustments can be made by loosening the clamping screws, tilting the extension, then re-tightening the screws.
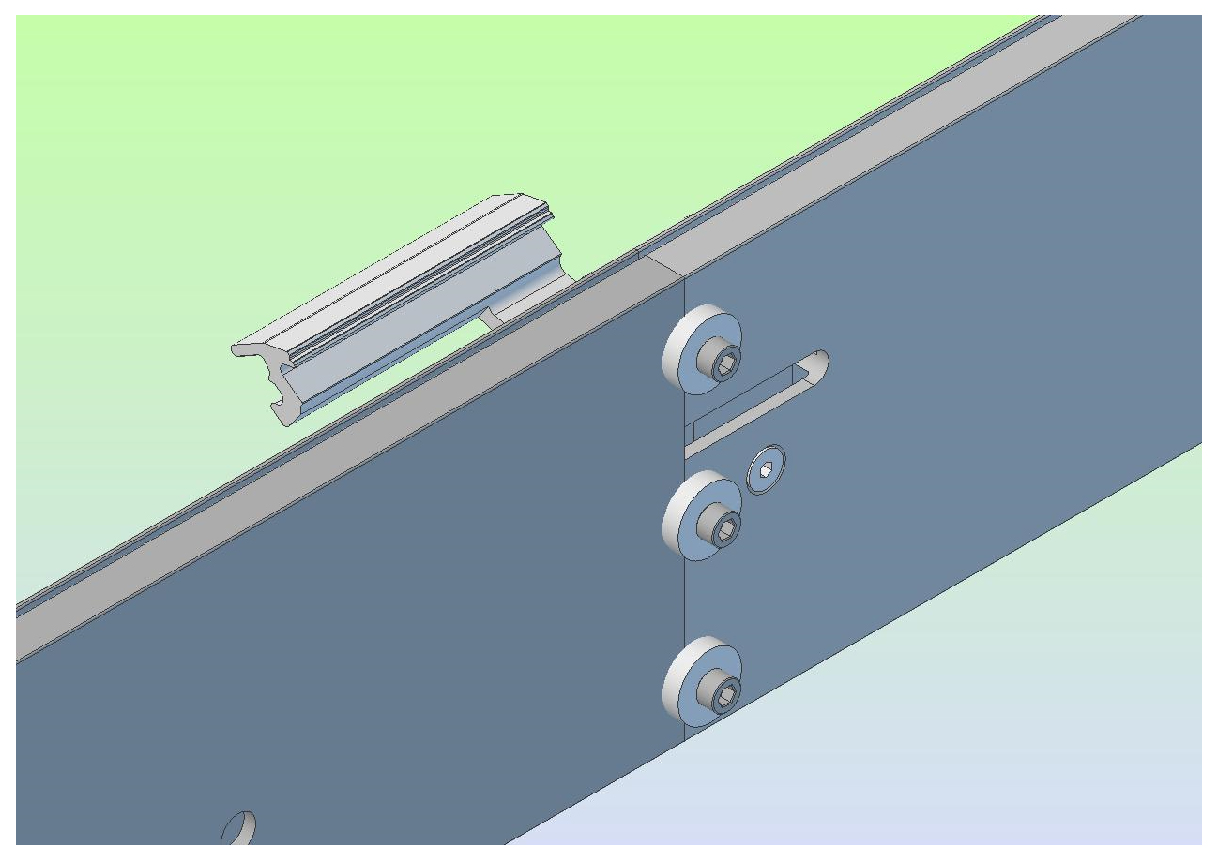
4. Tighten clamping screws
To grip the extension firmly in place, the clamping washers need to be reversed one at a time, so the sharp edge bites into the aluminium surface, therefore keying the two parts together. Remove the lower screw and clamping washer, turn the washer around and clamp it back in position. The clamping screw must be fastened as tight as possible. Repeat with the other two clamping washers. Finally, double check all three screws are tight.
Ⓒ Keencut 2020 | Baird Rd, Corby NN17 5ZA United Kingdom | Contact us
Created by DeType | Privacy | Website Disclaimer | Terms & Conditions